Thanks for sharing this pwa but unfortunately this is not working for my website. When I install everything it wont let me login. =(
Forums
WOWonder and Sngine discussion forums
How to Install the Free Sngine PWA (Progressive Web App)

NOTE: If you are updating, do not upload image files to avoid overwriting your existing ones.
I renamed some files to make it harder for people to steal your code. Please read Step 7.
Changes:
- Added banner block or fixed it.

- Added button.

- Fixed bugs.
- Changed file structure for better organization.
- Added offline.html – show a message if users disconnect (feel free to style it).
Give your Sngine social network a native app-like experience by installing this free Sngine PWA! This guide walks you through setup, integration, and customization. Works with all themes.
The sharer is not working (left it in case someone figures it out – tell me if you do!)
Step 1: Upload Files to the Root Folder
- Download the zip and extract the files.
- Upload everything to your website's root directory.
- Make sure the folder structure matches the one in the zip.
Step 2: Register the Service Worker
Note for updates: Replace the code and delete the old service-worker.js.
Open /content/themes/default/templates/_head.tpl and before </head>, add:
<script>
  if ('serviceWorker' in navigator) {
    navigator.serviceWorker.register('/sw.js')
      .then((registration) => {
        console.log('Service Worker registered with scope:', registration.scope);
      })
      .catch((error) => {
        console.log('Service Worker registration failed:', error);
      });
  }
</script>
And also add the manifest link:
<link rel="manifest" href="{$system['system_url']}/manifest.json">Step 3: Add JavaScript for PWA Functionality
Open /content/themes/default/templates/_footer.tpl and before </body>, add:
<script type="text/javascript" src="{$system['system_url']}/includes/assets/js/core/msett.js"></script>This script controls how often the PWA popup appears – don’t overdo it.
Step 4: Add the Install Button or Banner
Choose where to install it. You have two options:
{include file='pwabutton.tpl'}or use the orange banner:
{include file='pwabanner.tpl'}Button preview:

Banner preview:

Want a floating banner? Edit pwabanner.tpl and change:
#install-banner {
    display: none;
    position: block;
}
to
#install-banner {
    display: none;
    position: fixed;
}
Step 5: Edit the Manifest File
- Open
manifest.json. - Update site details like name and URL.
Example:
{
  "id": "https://sitename.com/",
  "dir": "ltr",
  "lang": "en",
  "name": "SiteName",
  "short_name": "SiteName",
  "description": "Stay connected with SiteName, your hub for news, business, and connections!"
}
Step 6: Replace Icons and Screenshots
- Navigate to
/content/uploads/pwa/. - Replace the icons (
icon-192x192.png,icon-512x512.png). - Use these sizes:
- 192x192 px
- 512x512 px
- 3 mobile screenshots
- 3 desktop screenshots
Step 7: Obfuscate Your JavaScript
If you want to protect your code, obfuscate msett.js using Obfuscator.io.
- Can you undo it? Not really.
- Keep a clean backup before you obfuscate.
BONUS – Multi-language Manifest
You can serve different manifest files per language.
- Duplicate
manifest.json(e.g.manifest-es.json). - Update your
_head.tplwith:
<link rel="manifest" href="{$system['system_url']}/{__('manifest.json')}">Then add this to your language file (e.g. es_es):
msgid "manifest.json"
msgstr "manifest-es.json"
Tip: You can also localize image names using the same translation trick!
🌟 You're Done!
Congrats! Your Sngine site now works like a native app.
If you appreciated this, feel free to tip me through my profile – yes, it actually works ;)

Try open the service worker and remove the cache line.
Or send m your info privately and when I have little time I will check for you
Someone told me they had that issue because they had the code duplicated both in head.tpl and admincp custom js

I LOVE THAT!!! Working fine <3 Thanks A LOT for sharing this wonderful script!!
I open your site on iphone and still doen't show app button.
try clean cache, some people says that it orks some say it does not, I dont have an iphone
Features and updates
-
iOS 17.4This update addressed limitations that previously affected PWA performance. It also included new features like:
- Slider Over
- Split view
- Full-screen mode
- Push notifications
- Slider Over
-
Home screen web appsApple reversed its decision to remove home screen web apps from iOS in the EU. This feature allows users to install certain websites as standalone apps on their devices.
Limitations
- PWAs on iOS still face some limitations compared to Android. For example, iOS doesn't fully recognize the app icons specified in the manifest.
- Developers often need to use additional code to create custom splash screens.
- iOS doesn't support all display options specified in the manifest.
- Developers have no control over locking the screen orientation.
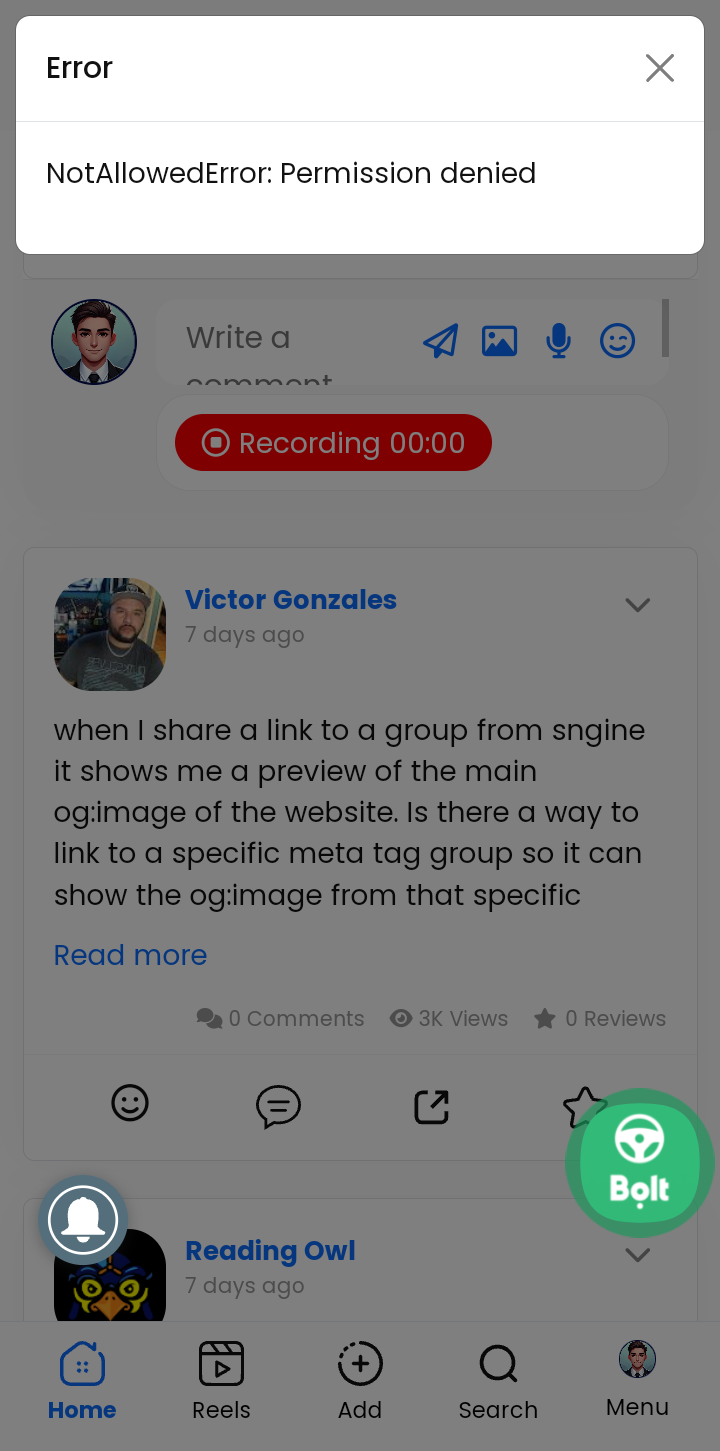
Wanted to record a voice note but this error came up.